First step is to install Sitecore 9 update2, to install Sitecore 9 please follow below steps
1. Set up Solr 6.6.2, follow this blog post in Setting up Solr Make sure your solr is up & running.
2. To install sitecore 9 follow this link sitecore-9-0-2-installation
3. Download installation scripts from this link sitecore 9 installation.
For Sitecore commerce installation make sure sitecore 9 update2 instance and Solr is up and running.
Please follow steps for Sitecore commerce 9 update 2.
Download required prerequisites
1. Download and Install .NET Core 2.0
2. Download and Install .NET Core Windows Server Hosting 2.0.0
3. Download Sitecore Powershell Extensions 4.7.2 from Sitecore Marketplace
4. Copy downloaded file into folder "C:\deploy\assets", Please see the below screen shot for the same
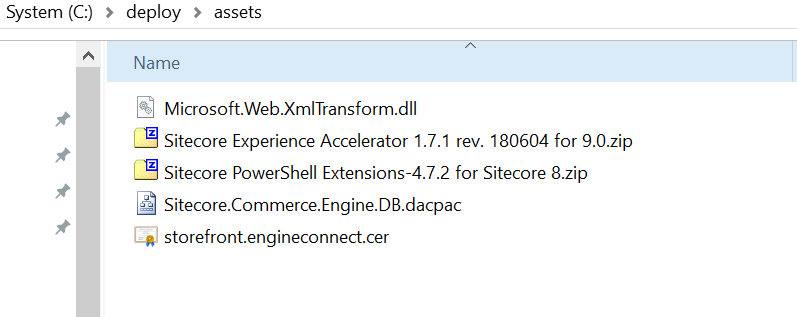
Deploy folder with necessary assets already downloaded for you guys, Please click here to download installation files
Commerce 9 update2 installation issues & resolutions
Issue3: One or more exceptions occurred while processing the subscribers to the 'item:saved' event.
Resolution :
Make sure the xConnect site works with SSL(https).
If xConnect site does not work, alternative solution
to would be to comment out the item:saved event.
Go to the web site path
“\App_Config\Sitecore\ExperienceAnalytics\Sitecore.ExperienceAnalytics.Client.config”
comment out
<event
name="item:saved">
Issue4: Ensure/Sync default content paths for: AdventureWorksAuthoring
Ensure/Sync default content paths for environment
AdventureWorksAuthoring failed, please check Engine service logs for more info.
Resolution :
Previous steps took long time to execute and operation
might have timed out. To solve this issue increase the timeout setting value in "SitecoreUtilityTasks.psm1" file for all the operations located under "C:\deploy\SIF.Sitecore.Commerce.1.2.14\Modules\SitecoreUtilityTasks" and
Change the connection string in identity server
appsetting file to
"ConnectionString":"DataSource=LIN34003551;userid=sa;password=Param@123;Database=storefront_Core",
Re-run the installation from where it has stopped.
References
https://buoctrenmay.com/2018/03/09/step-by-step-guide-for-sitecore-commerce-9-installation-on-your-machine/
No comments:
Post a Comment